
Facebook Login
To start working with facebook login, you must first create a facebook app in your facebook developer console.
To create a facebook app, click on this link: https://developers.facebook.com/apps/create/
On the create app page, select Consumer as the type of the app and click on Next

On the details page fill in your App Display name and support email. Then click on Create App

Now you have successfully created a facebook app.
Android Setup
Go to Facebook Login for Android - Quickstart
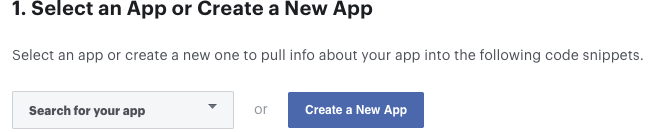
Select an App or Create a New App
Skip the step 2 (Download the Facebook App)
Skip the step 3 (Integrate the Facebook SDK)
Edit Your Resources and Manifest
Edit Your Resources and Manifest add this config in your android project
Open your
/android/app/src/main/res/values/strings.xmlfile, or create one if it doesn't exists.Replace
YOUR APP NAMEwith your actual app nameAdd the following (replace
{your-app-id}with your facebook app Id):
Associate Your Package Name and Default Class with Your App
In this step make sure your enter your application id/package id. Then the enter your package/application id in the second input field with .MainActivity. As your can see below, our application id is online.edentech.fuodz and the second input field online.edentech.fuodz.MainActivity.
Then click on Save

Provide the Development and Release Key Hashes for Your App
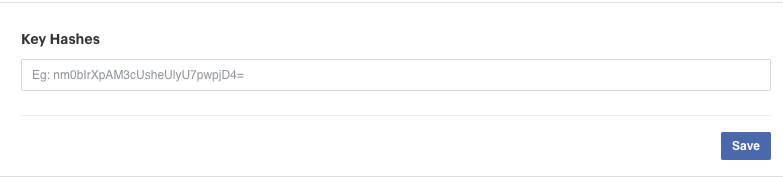
To find info to how to generate you key hash go to https://developers.facebook.com/docs/facebook-login/android?locale=en_US#6--provide-the-development-and-release-key-hashes-for-your-app
Note: if your application uses Google Play App Signing then you should get certificate SHA-1 fingerprint from Google Play Console and convert it to base64
You should add key hashes for every build variants like release, debug, CI/CD, etc.
Note: Skip/Ignore the rest steps on the page
iOS Setup
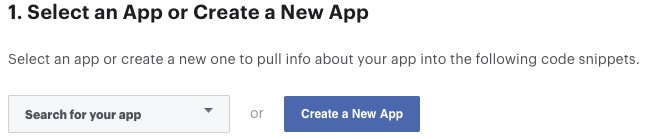
Go to Facebook Login for iOS - Quickstart and select or create your app.
Skip the step 2 (Set up Your Development Environment).
In the step 3 (Register and Configure Your App with Facebook) you need add your
Bundle IdentifierThis is the same as your application/package id. Then click on Save.

You can find your
Bundle Identifierin Xcode (Runner - Target Runner - General)

Setup iOS Info.plist
In the Step 4 you need configure your Info.plist file inside ios/Runner/Info.plist
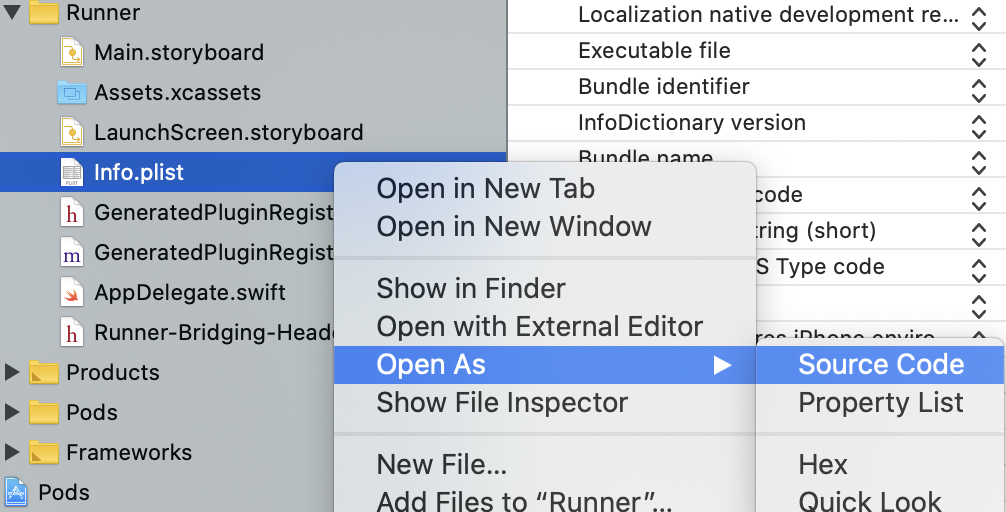
From Xcode you can open your Info.plist as Source Code .
Under the CFBundleURLSchemes section replace {your-app-id} with your facebook app Id
Now at the very bottom of the Info.plist file change the following with values from your facebook app.
APP-ID - same as facebbok app id
CLIENT-TOKEN - This value can be found under Settings > Advanced > Client Token in your Facebbok App Dashboard.
APP-NAME - Use your app name
Firebase Setup
Note: You must have completed setup of facebook login for android/ios setup to be able to setup facebook login on firebase console.
You need to enable Facebook sign-in on your firebase project. Login to your firebase console and select your project.
Then select Authentication.
On the authentication page select Sign-in methods.
Then select Add New provider.
After select Facebook in the list of auth providers.
Enter your Facebook App id and secret
Click the enable switch to enable it
Then save


Last updated